Tracking FinPro Gateway Attestations
You can use the Financial Professional Gateway (FinPro Gateway™) Access Tracking template in FINRA Gateway Reports to track details about the FinPro Gateway account activity for individuals at your firm.
On This Page
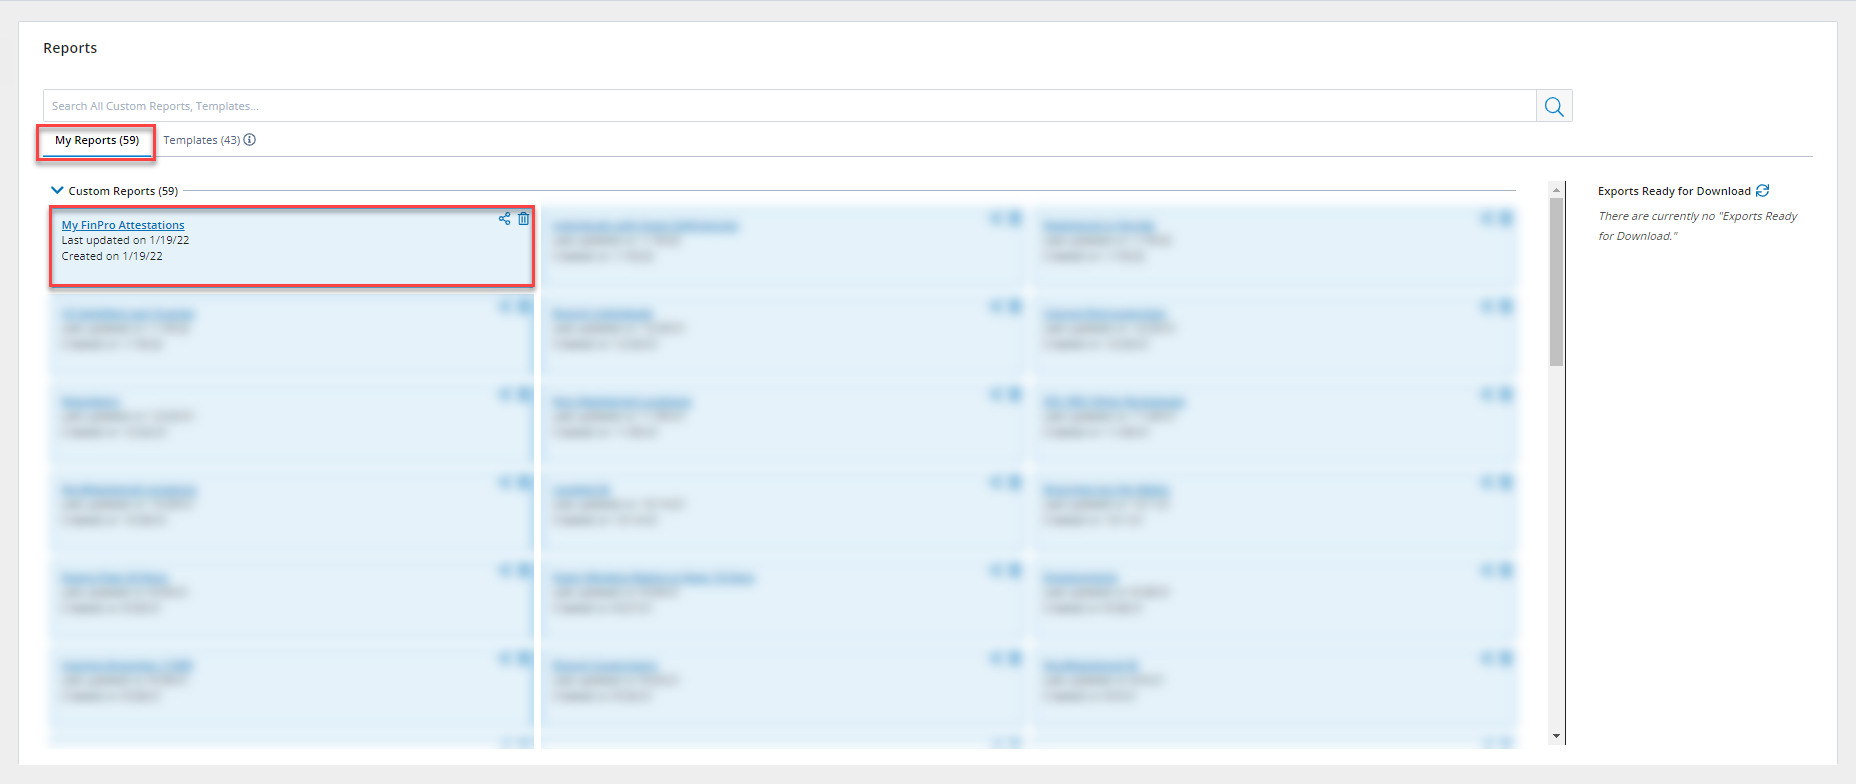
Log in to FINRA Gateway and navigate to Reports using the report icon in the left margin. From the Reports main page, search for “FinPro Gateway” and select the report that appears in the search results.
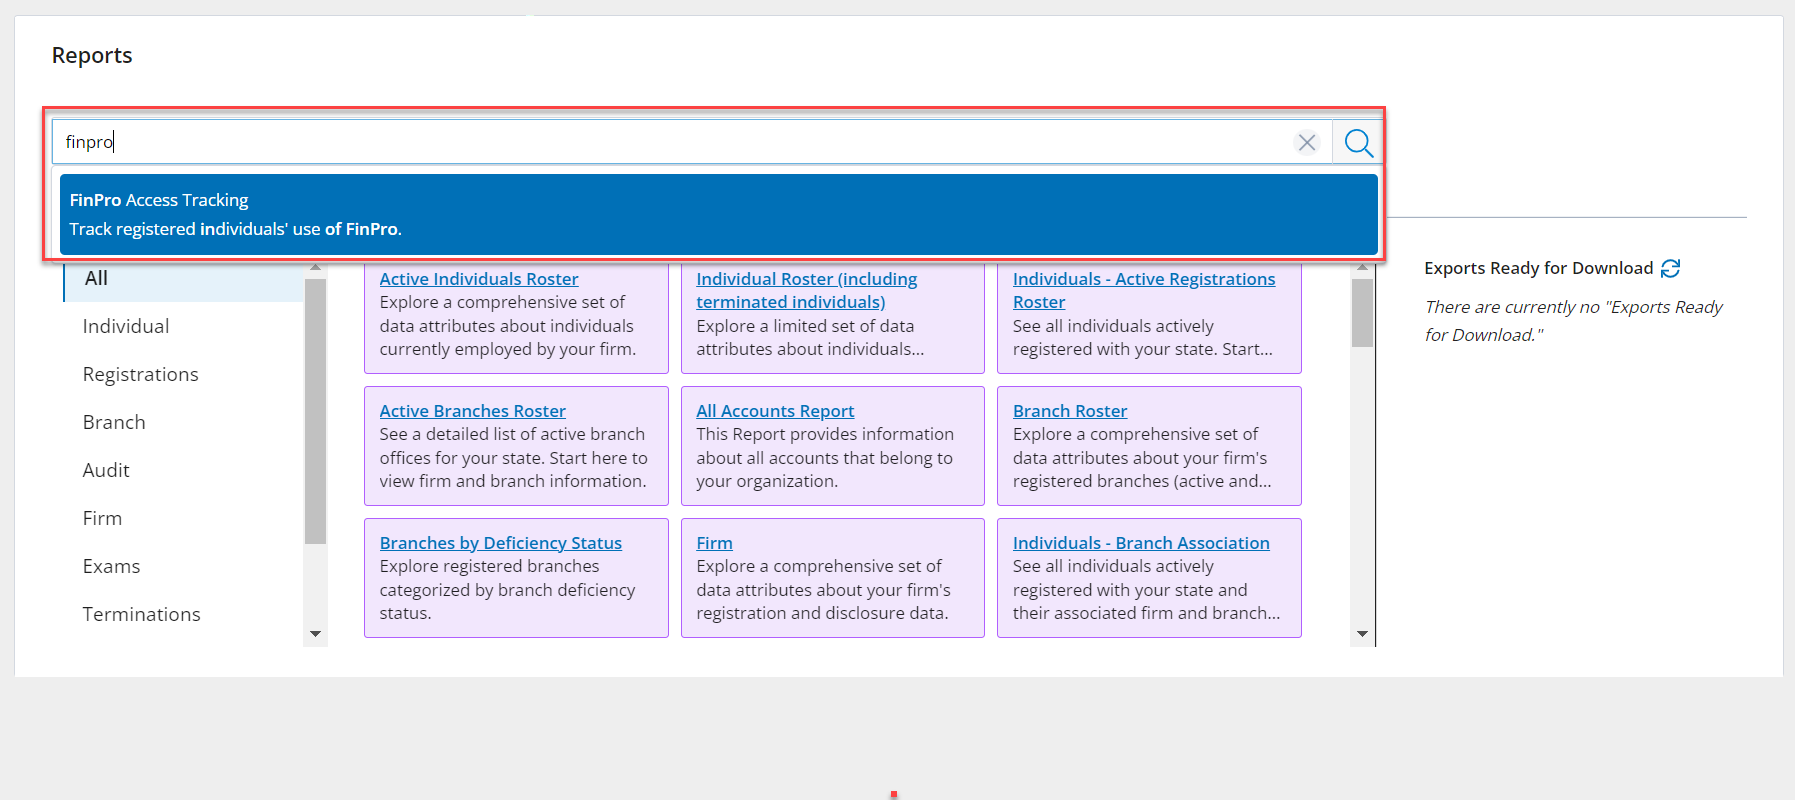
Click on the FinPro Gateway Access Tracking template to open.
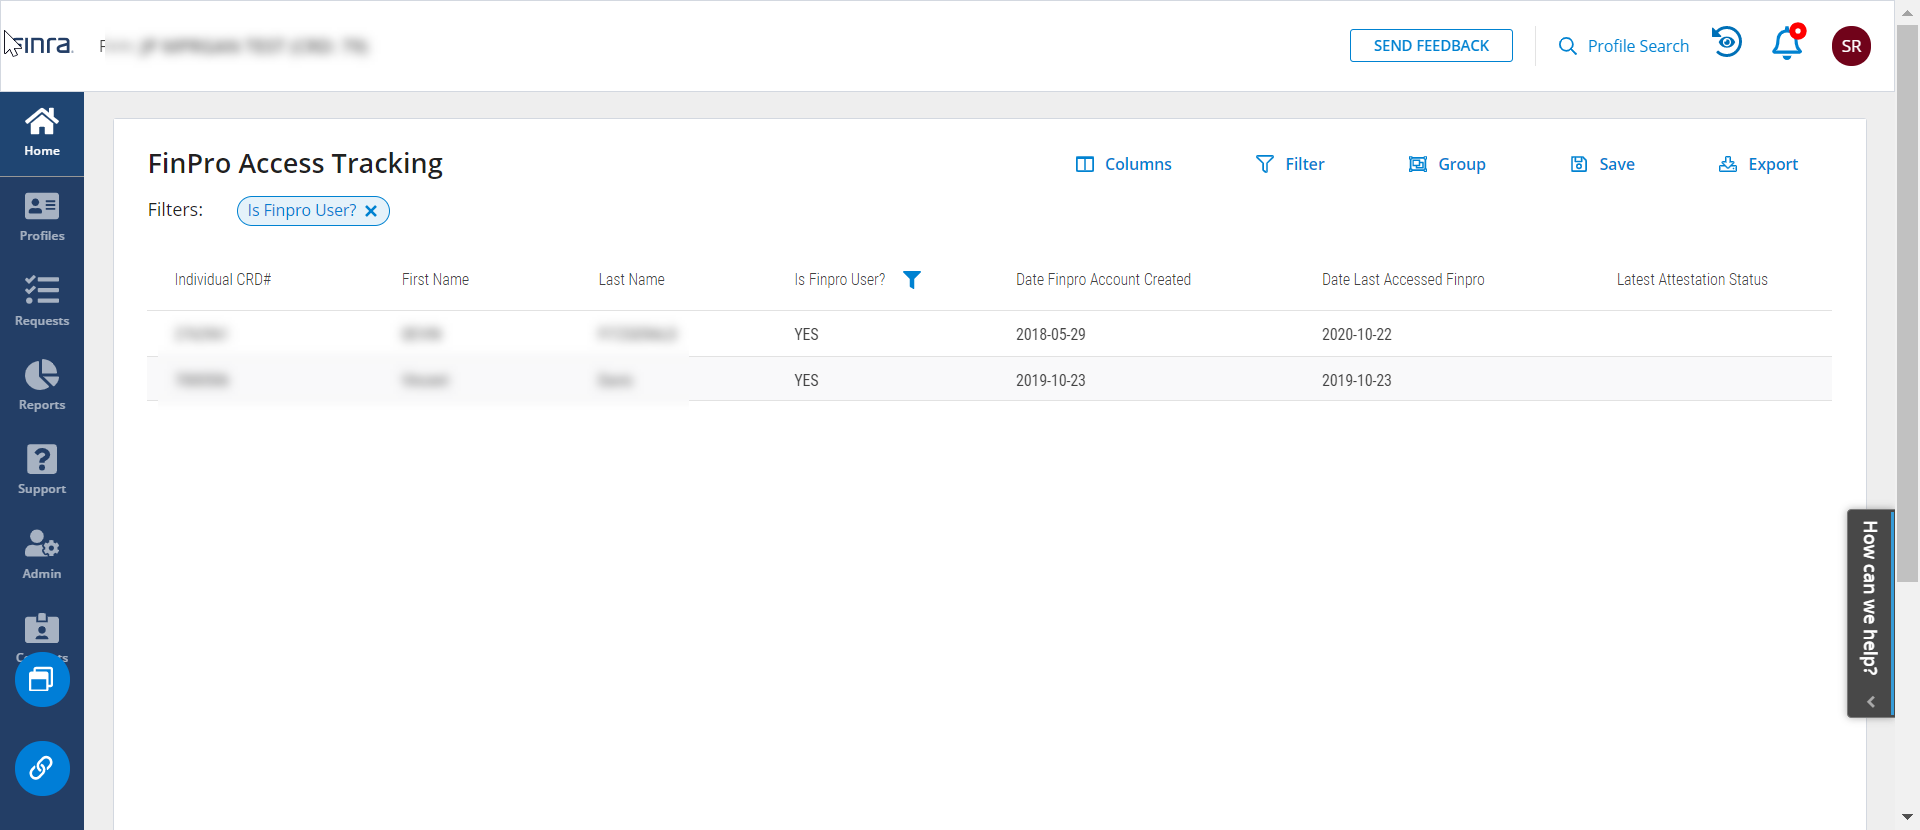
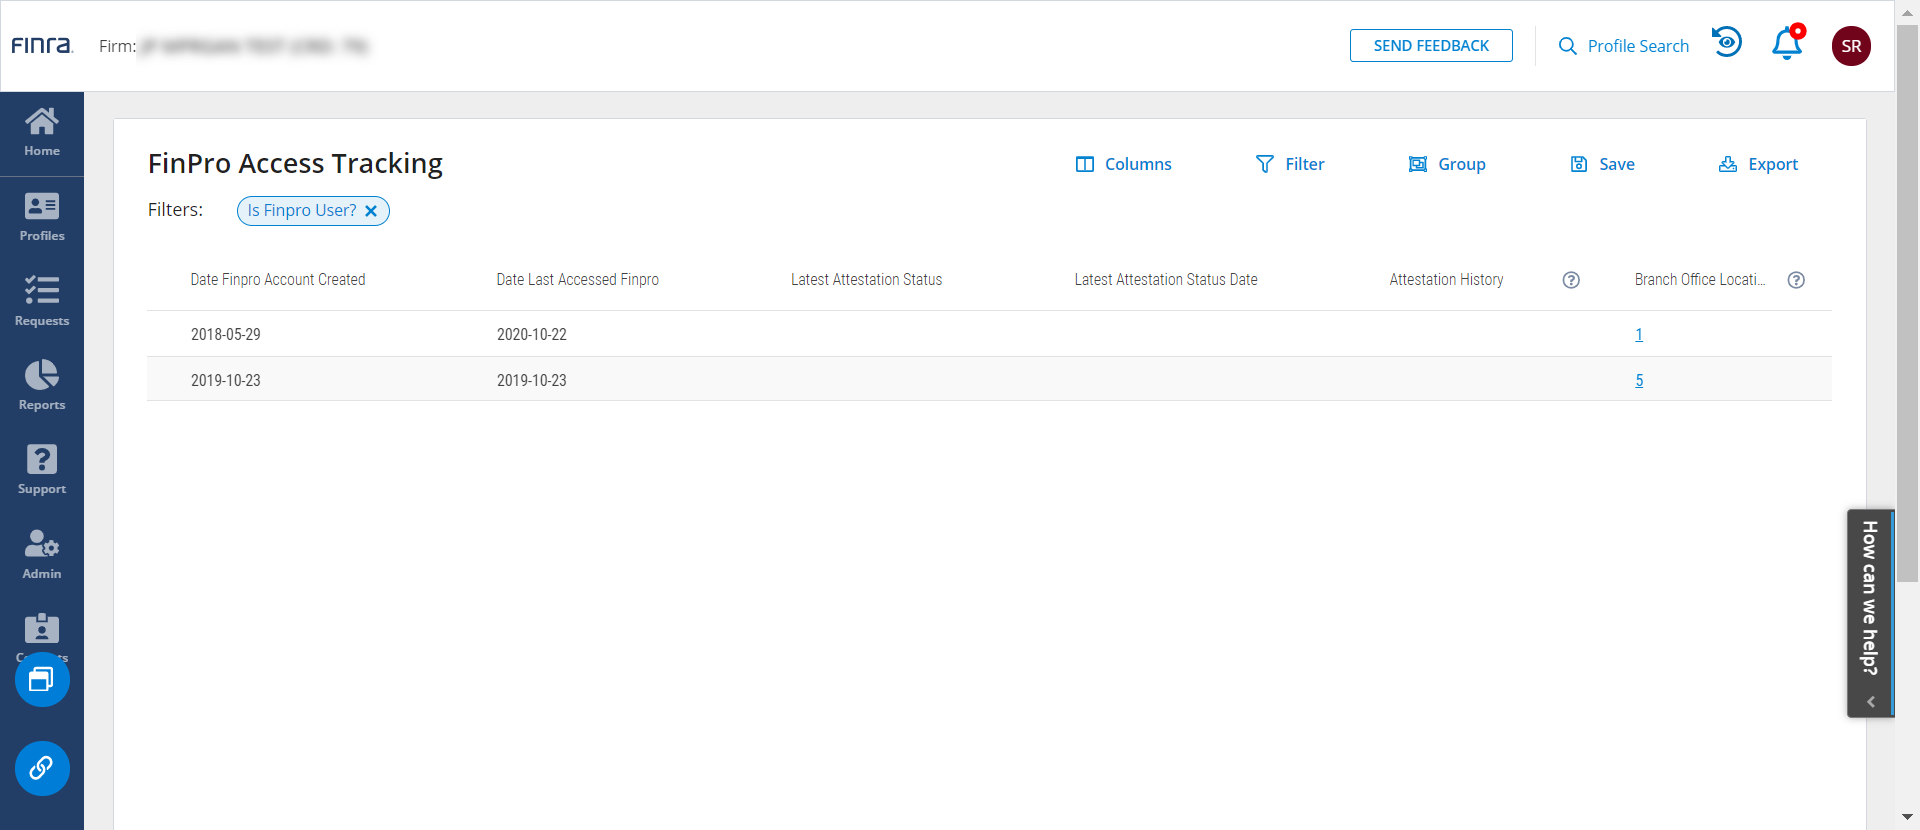
The FinPro Gateway Access Tracking template is set up to only show those individuals at your firm who have a FinPro Gateway account. The columns shown on the template include details about the individual’s account access, including the date they last accessed their account and the date of their latest attestation.
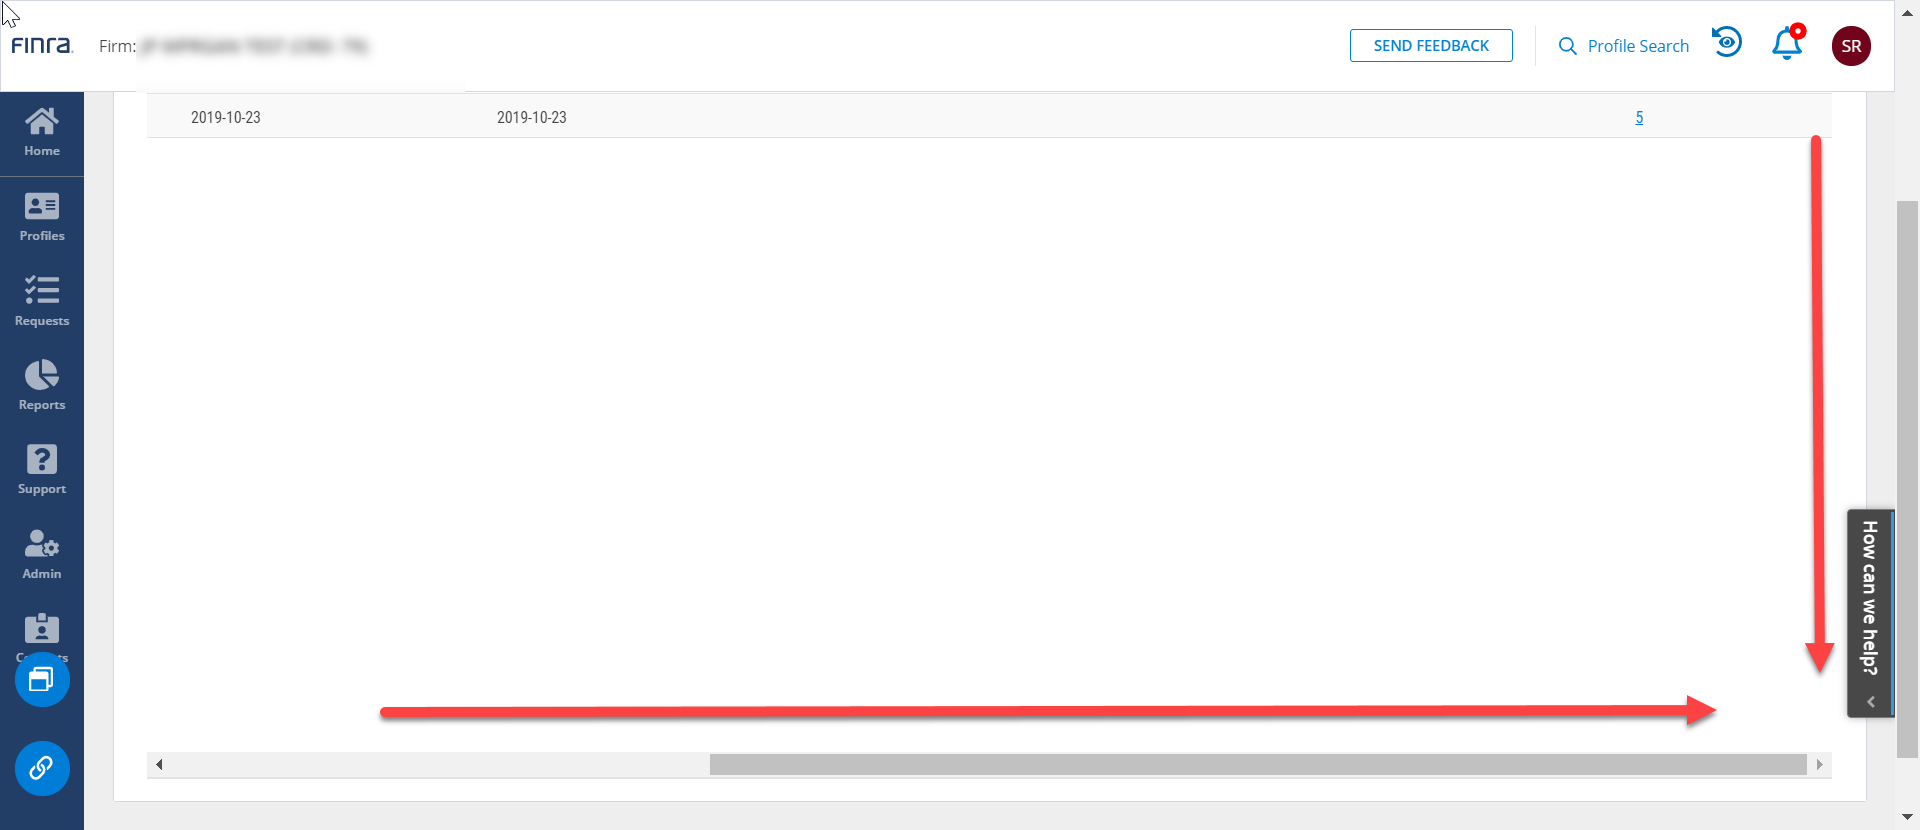
You may need to use the vertical scrollbar to view all columns. Use the scroll bar on the right to scroll to the bottom of the page and the scroll bar at the bottom of the page to vertically scroll to see other available columns including Attestation History and Branch Office Locations.
Attestations by Individual Type
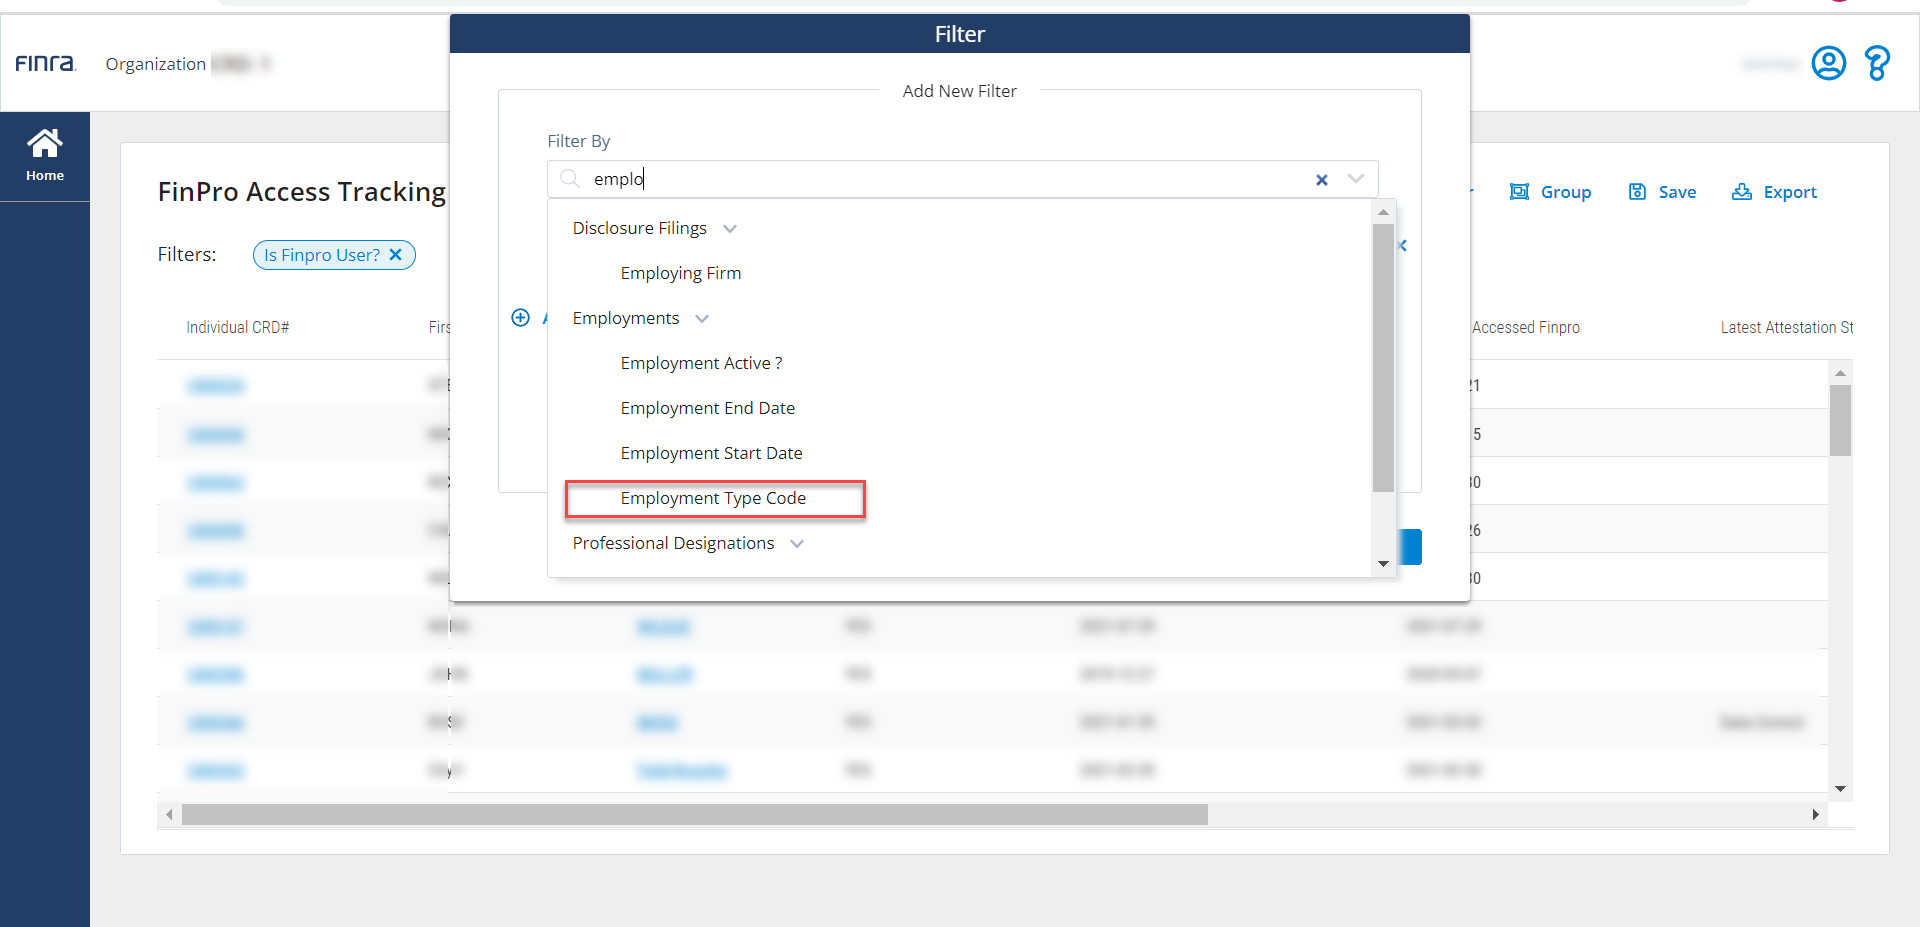
If you want to focus on the FinPro Gateway attestation status for registered representatives, you can use the “Employment Type Code” filter. Open the Filter tool and search for Employment Type Code.
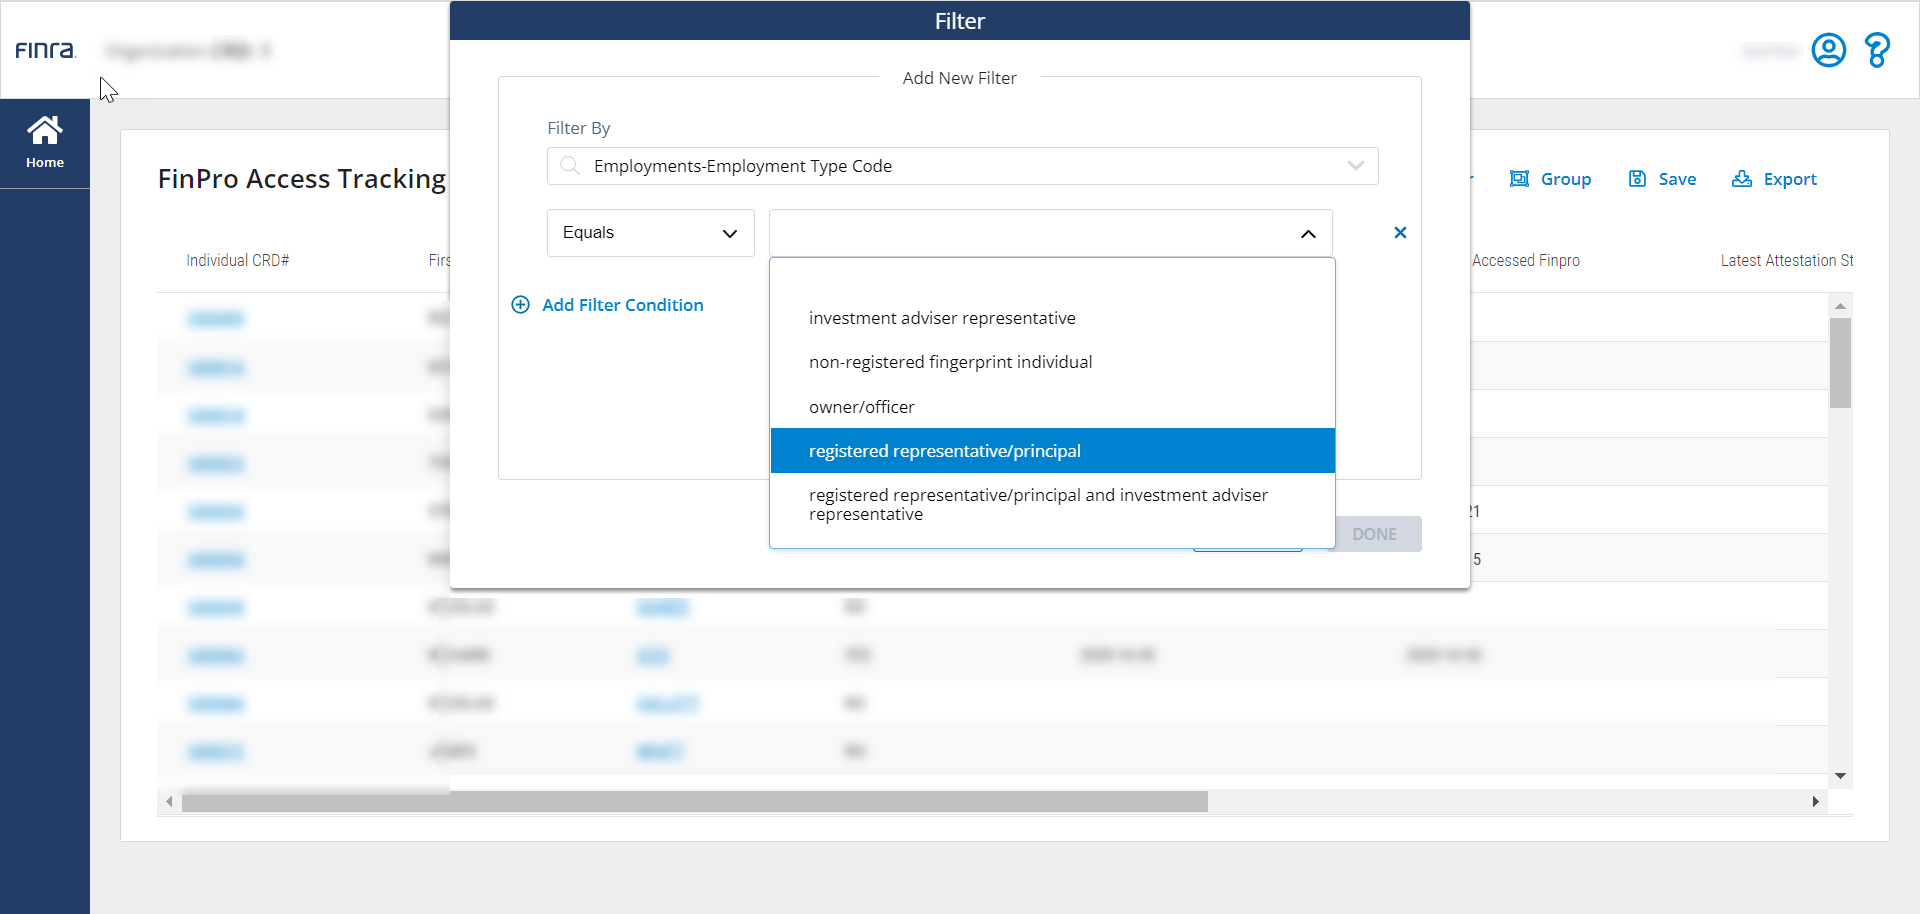
From the Employment Type Code filter, you can choose the employment type you want to include in your report.
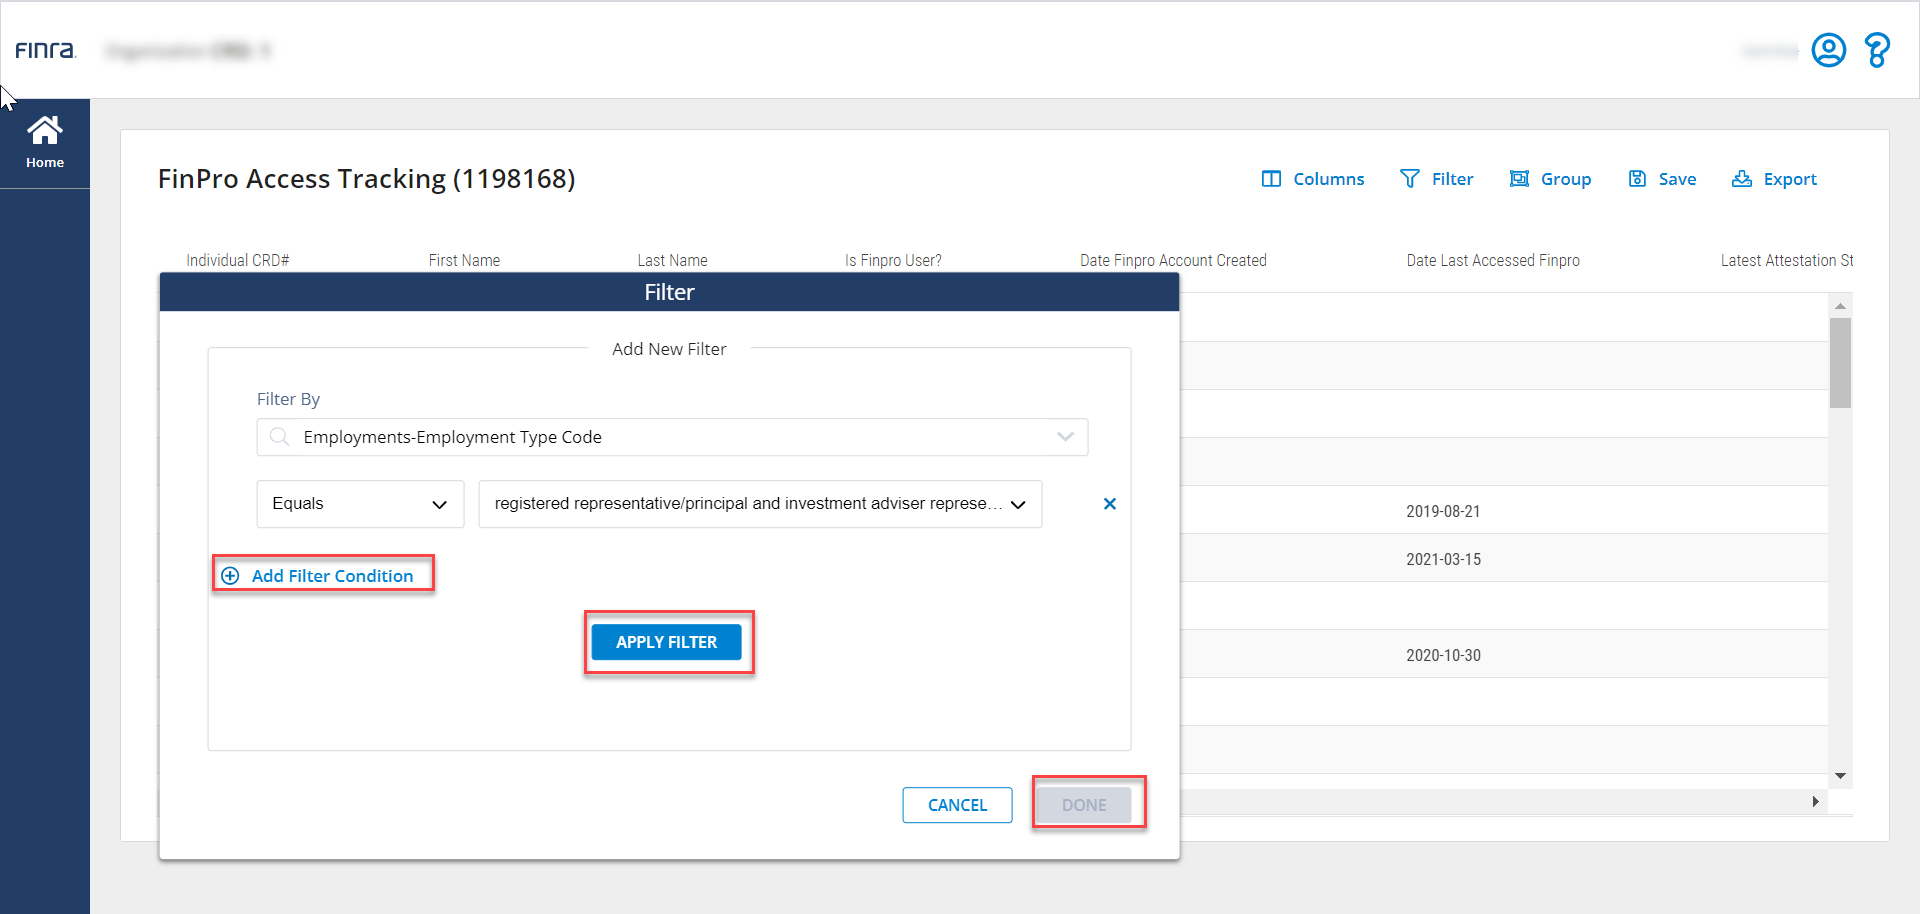
To include more than one Employment Type Code, click the Add Filter Condition link and repeat the process. When you have the Employment Type Codes selected, click Apply Filter and then Done.
Using the Filter tool will allow you to focus on specific types of individuals and exclude individual types that are not relevant to your reporting need. If you want to know FinPro Gateway Attestations by all individual types, use the Group tool.
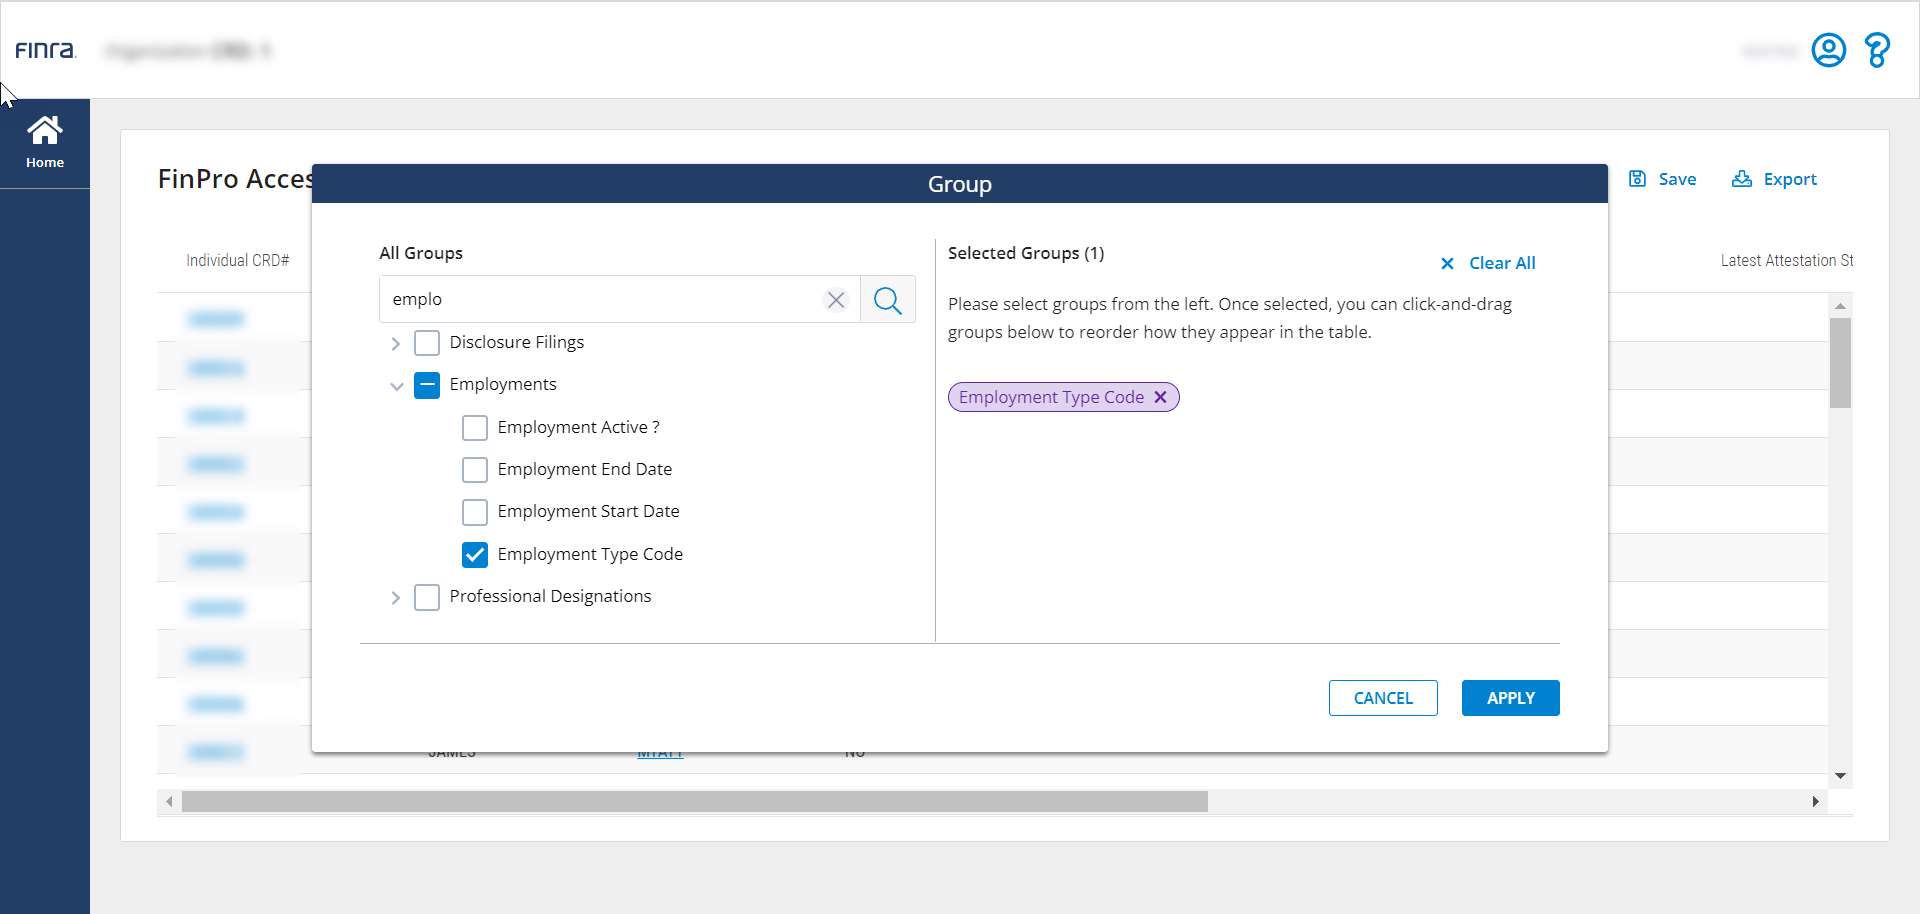
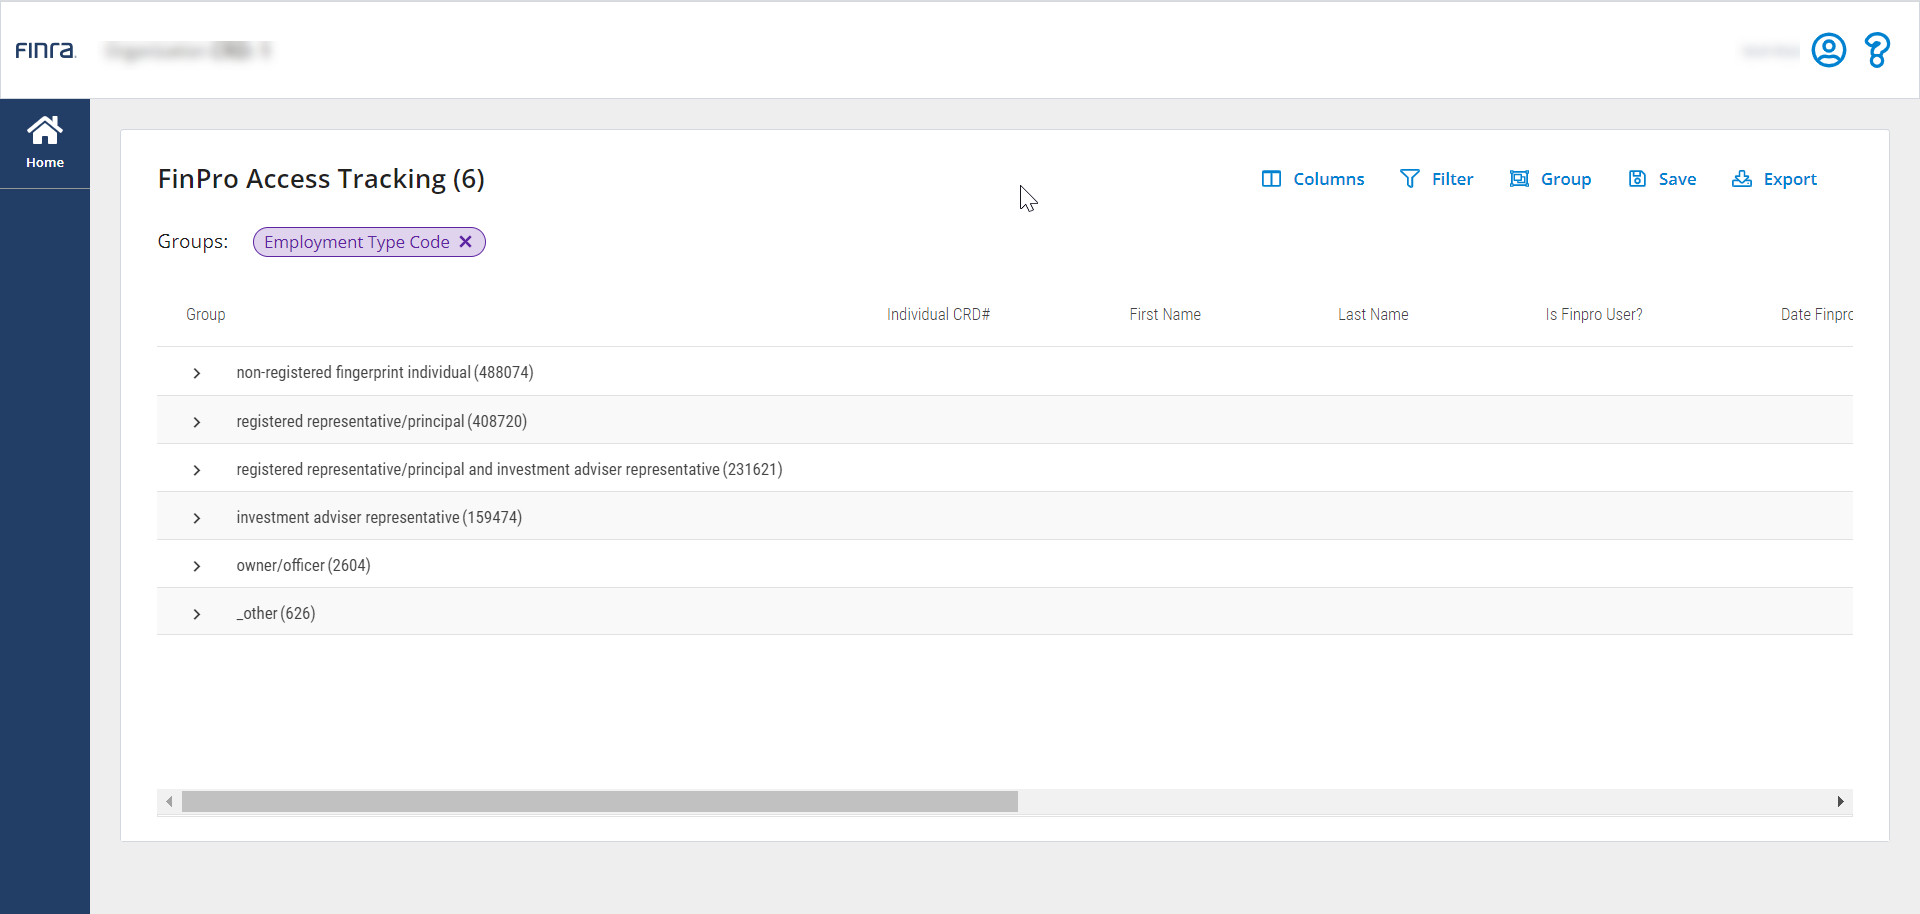
Grouping by Employment Type Code will categorize all FinPro Gateway attestations by individual type.
Tips and Tricks
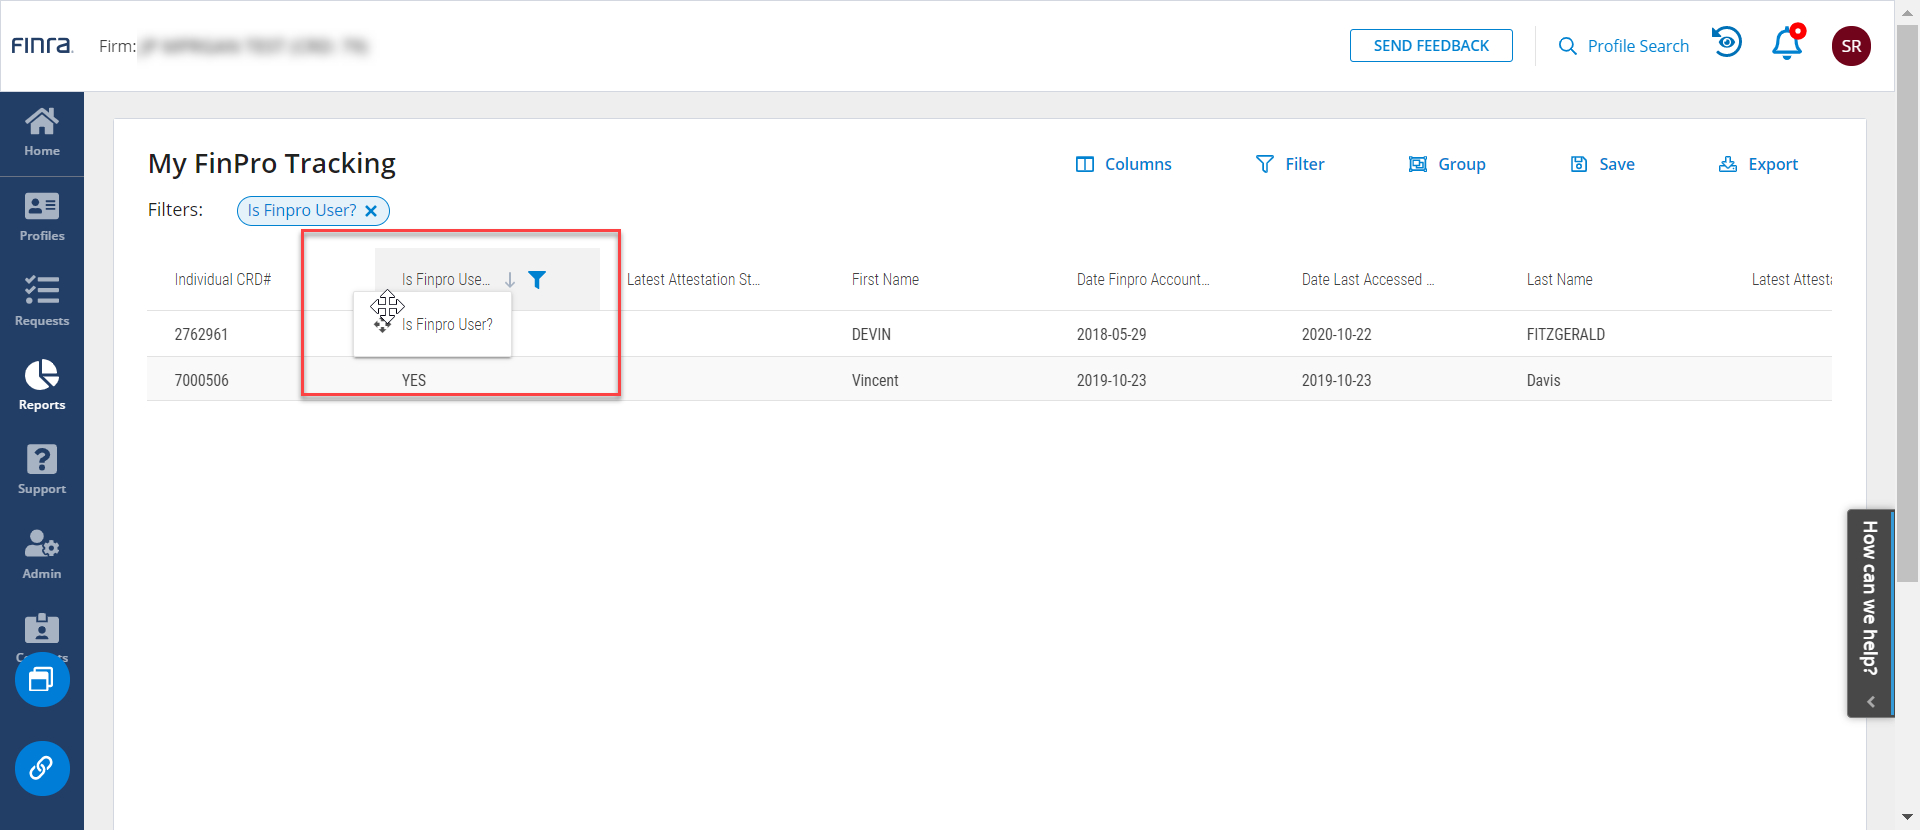
Click on a column heading and drag it to reorder columns. By dragging and dropping column heading into place, you can customize the order in which they appear in your template.
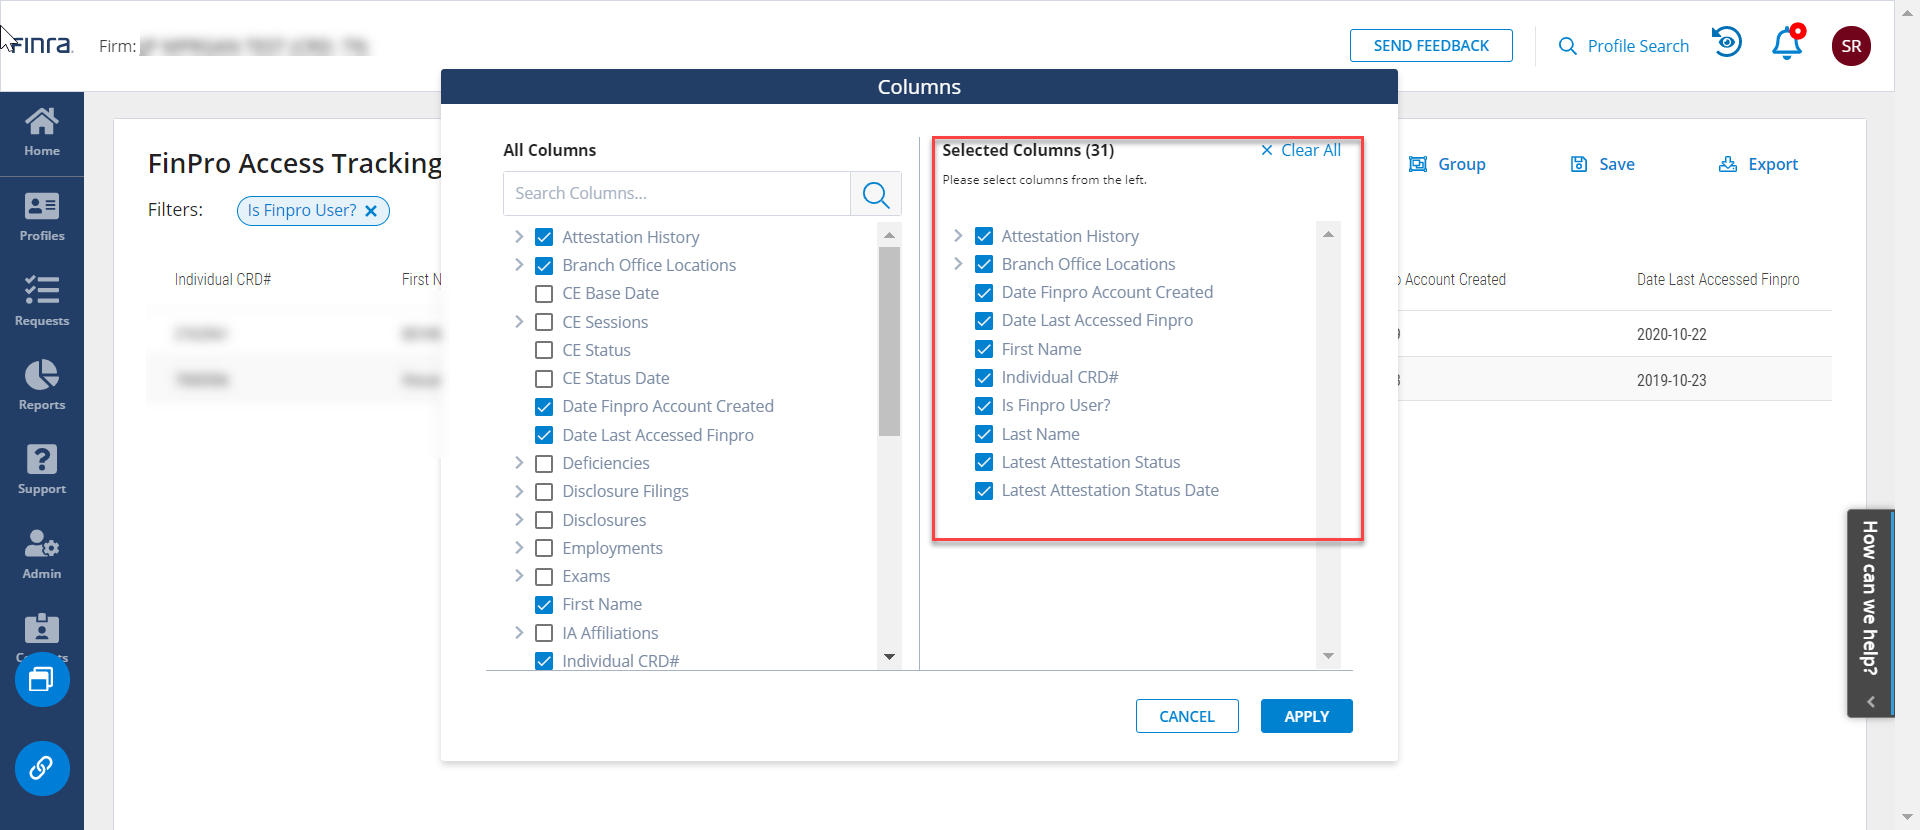
You can also add or remove columns from your template. Open the Columns tool to add or remove columns from the template.
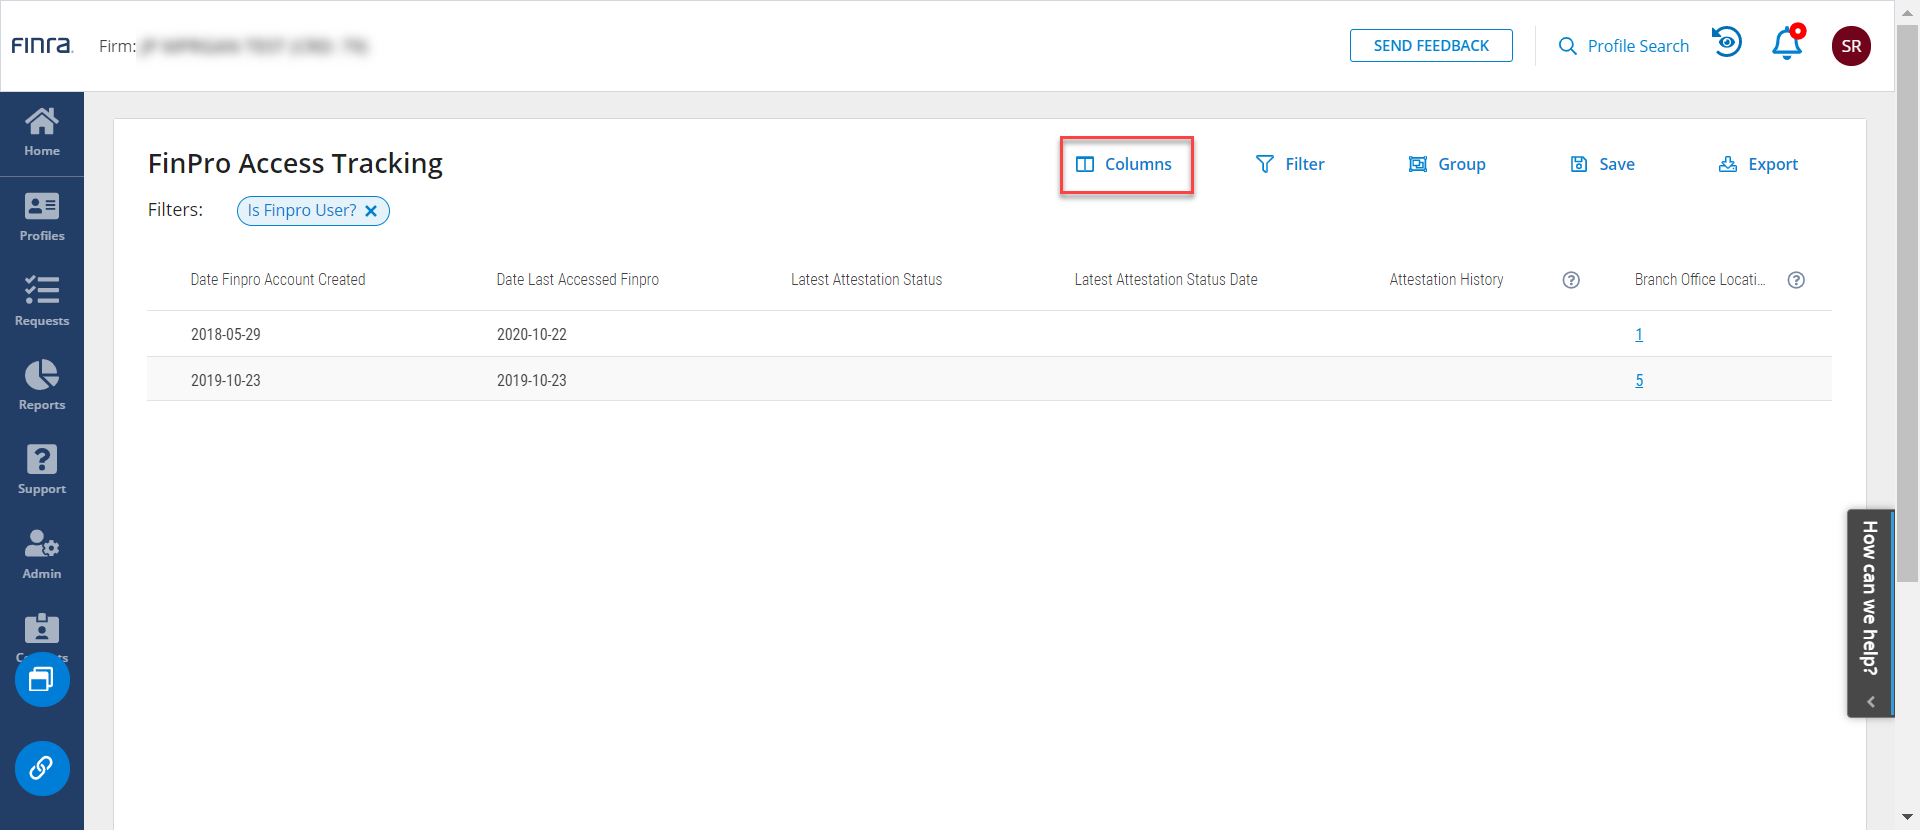
Selected columns appear on the right. Uncheck any column to remove it from your template.
Use the Save tool to save any changes you make as a custom template.
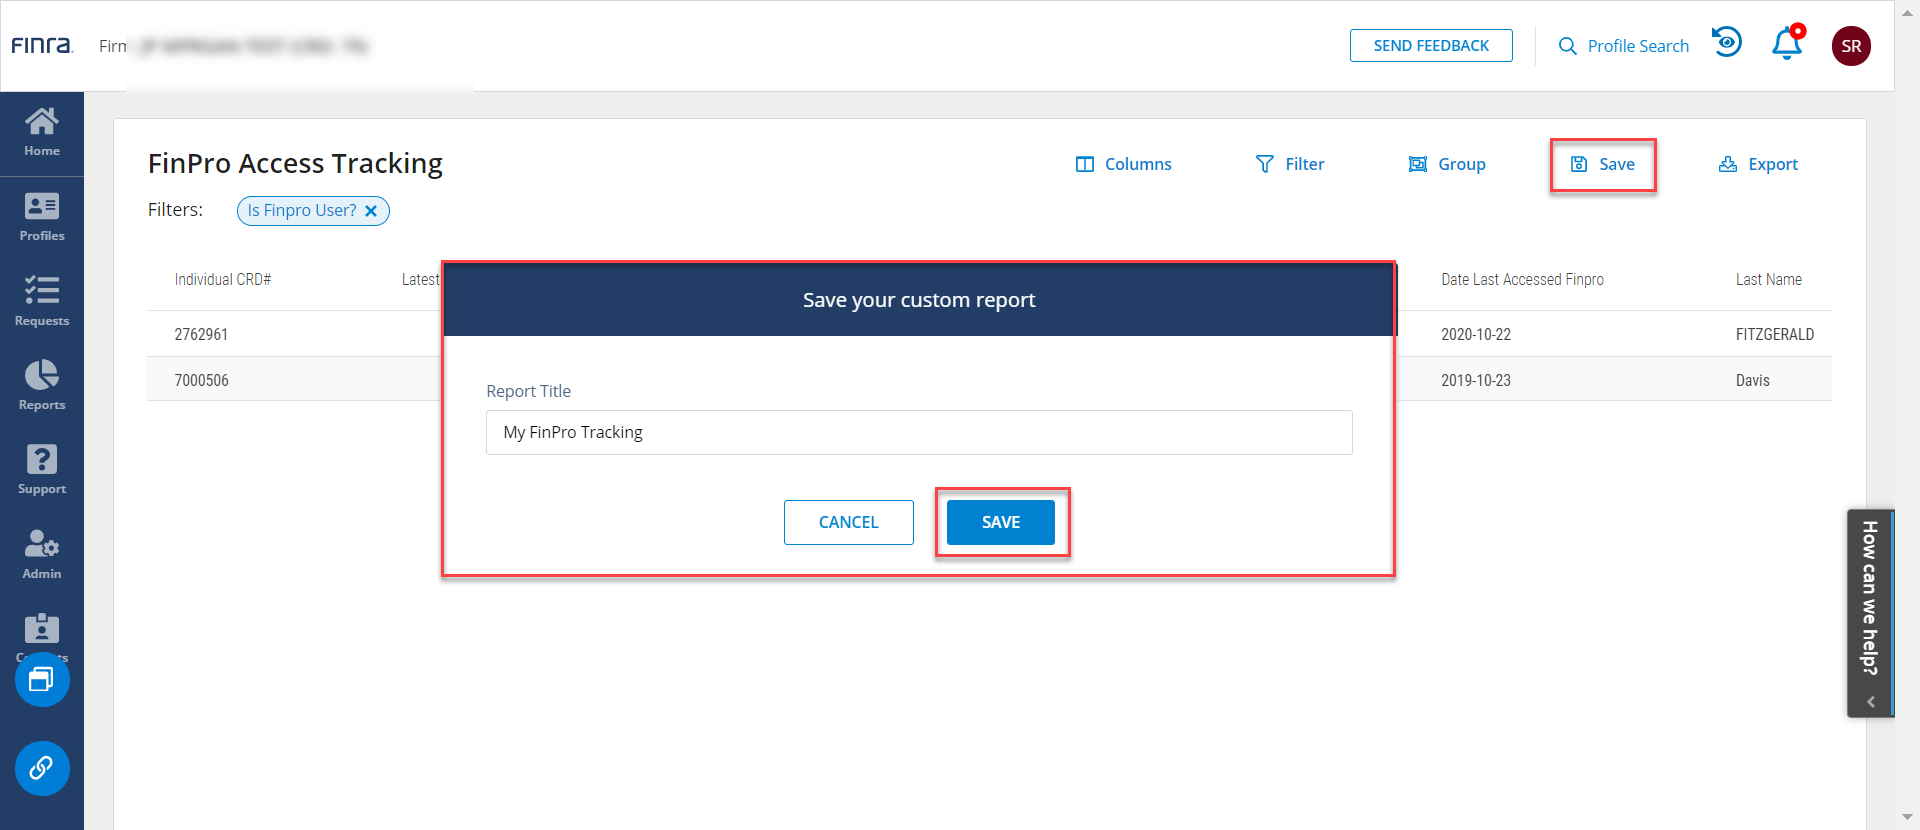
Once you save a template, it will appear in the My Reports section of the Reports main page.